27.10.2022 - 13.11.2022 (Week 9 - Week 11)
Chung Yi Ki / 0345014 /
BDCM
Animation Fundamentals
Project 2: Action Animation
Lecture
Week 9 / Appeal and Clarity
Appeal
Appeal in animation doesn't mean it's a cute drawing, but rather it means to
apply a pleasing design, simplicity and clear communication in the drawing. An
expression, a character, a movement or a story situation can all add to the
value of appeal, but a drawing that's complicated, has a poor design, clumsy
shapes and awkward movements will make the animation hard to read and thus,
not appealing.

|
|
Fig 1.1 Appeal in character design Source: https://www.dsource.in/course/principles-animation/appeal |
Appeal is important to apply at the very start of the animating process,
especially in character design. Appeal can be achieve in character design by
pushing and exaggerating the features of the characters more.
Clarity
Clarity is the most important concept in animation. Applying clarity in
animation is to keep the shots clean and precise, whether that be simplifying
movements so it's easier for audience to keep up with, staging the scene
clearly, using solid drawing and exaggeration, or applying anticipation and
follow through in character actions.
Secondary action

|
|
Fig 1.2 Example of without secondary actions vs with secondary
actions Source: https://nutchelleblog.wordpress.com/2015/11/22/secondary-action/ |

|
|
Fig 1.3 Example of secondary actions being used Source: https://darvideo.tv/dictionary/secondary-action/ |
Secondary action is any action happening simultaneously with the main action.
It is to support the main action without drawing viewer's attention away from
the idea being told.
Exaggeration and anticipation

|
|
Fig 1.4 Example of exaggerations Source: https://hallucinationrain.wordpress.com/2014/03/06/principles-of-animation-exaggeration-timing/ |
|
|
|
Fig 1.5 Anticipation in animation Source: http://www.brianlemay.com/Pages/animationschool/animation/lipsyncbook/anticipation.html |
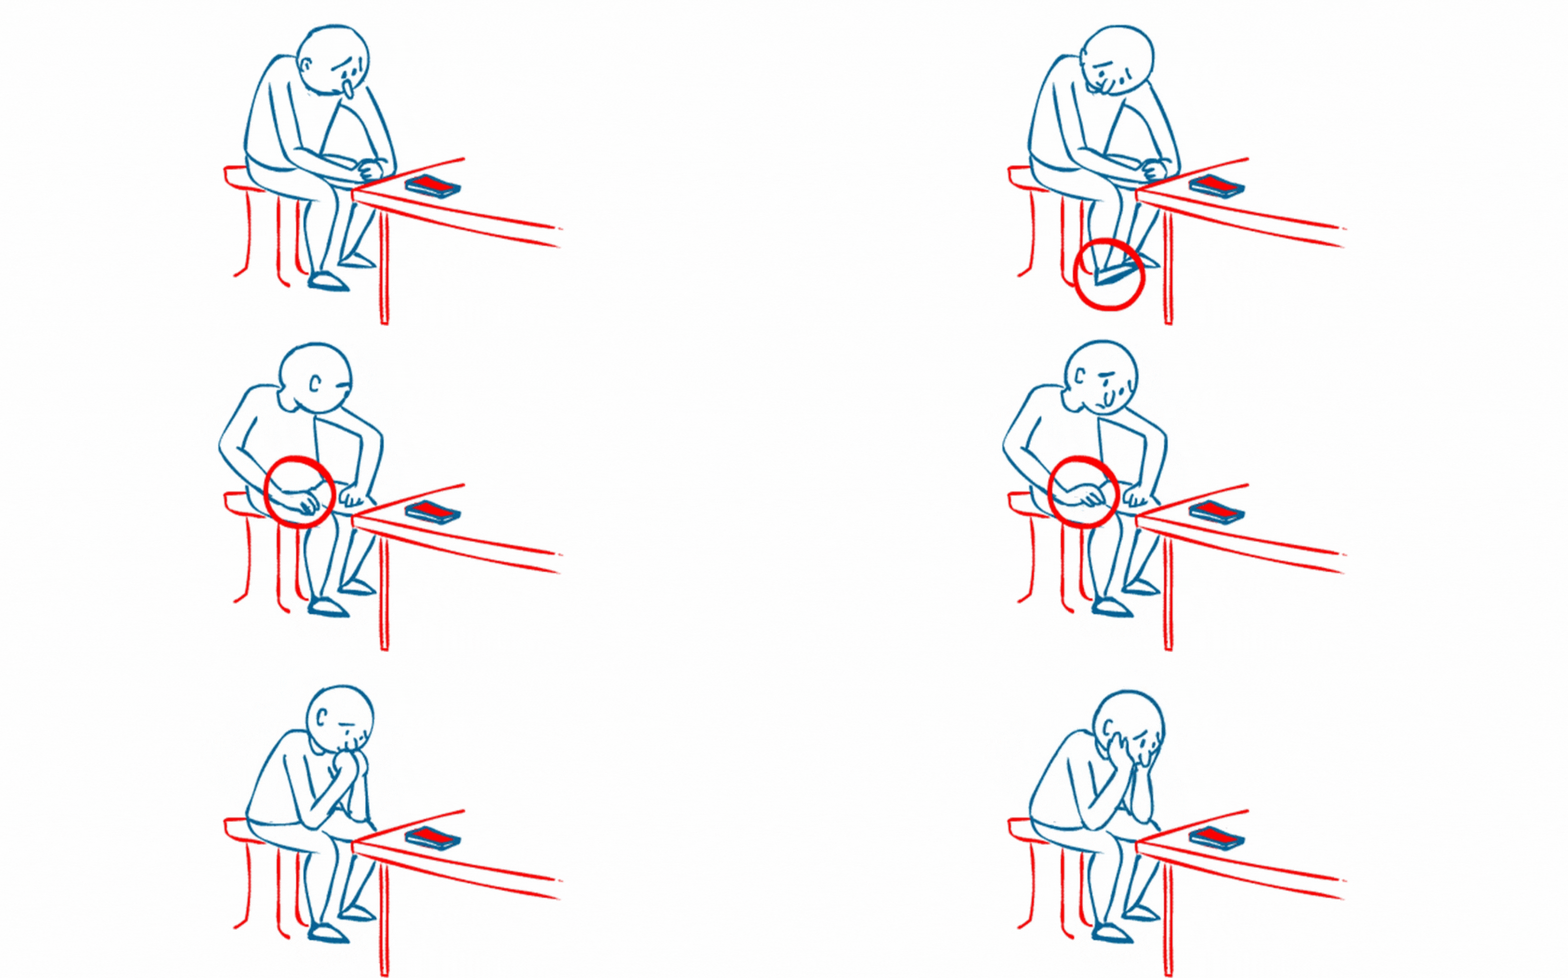
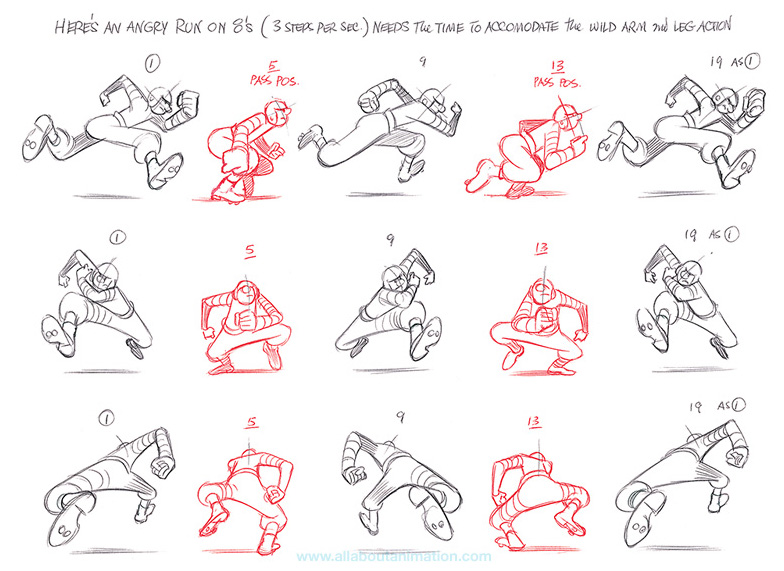
Exaggeration doesn't mean making an action unrealistic, but rather it means
amplifying the mood of the action. For example, if a character is angry, make
him even more angrier. The audience needs to feel the anger of the character.
While for anticipation, it prepares the audience on what's going to happen
next, creating more impact and clarity of the action.
Instructions
This project is in conjunction with Film Studies and Cinematography final
project. We are tasked to select scenes which contains actions from our
proposed teaser animatic and animate it for this project. The selected scenes
should be about 5 to 10 seconds long.
Proposed story and teaser animatic from Film Studies and Cinematography
Fig 1.1 Animated short film proposal and details of chosen scenes to include
in teaser
Fig 1.2 Teaser animatic
From my Film Studies and Cinematography module project, my proposed animated
short film story is about a homeless young girl who discovers a destructive
power that she can't control, and thus, she is forced to fight off the power
coercing her while also facing the cold-hearted world that she lives in. From
the story structure, I've chosen 4 scenes to include in the teaser, in which 2
of the scenes will be taken to animated for this project, which is the first
scene (running and bumping into a guy) and second scene (guy chasing
girl).
Motion reference analysis
Running and tripping
Fig 2.1 Self-recorded reference of running, tripping, falling
(rotated because the original video is slanted)
Fig 2.2 Analysis from Fig 2.1 video, with some notes about Fig 2.4 anlaysis
Fig 2.3 Hand motion when tripping reference
Fig 2.4 Analysis from Fig 2.3 video
Fig 2.5 Second self-recorded running and tripping reference
Fig 2.6 Analysis of Fig 2.5 video

|
| Fig 2.7 Screenshot of Adobe Animate workspace in analysing one of the videos |

|
|
Fig 2.8 Run cycle keys from The Animator's Survival Kit Source: https://fmspracticumspring2017.blogs.bucknell.edu/2017/03/08/week-8-odds-and-ends/ |

|
| Fig 2.9 Run cycle keys from The Animator's Survival Kit (pg 178) |
After receiving feedback from Mr. Kamal about the teaser animatic, I decided
to plan scene 1 as the character running at the start, tripping a bit at the
middle (but not until she's falling), continue running with her looking away
from the road and finally, bumping into the guy and falls. This is so that the
scene would still stick to the sequence of the story instead of having her not
looking at the road from the start. Since I can't find suitable reference for
the motion in the camera angle I want, I filmed two reference videos myself to
analyse.
I analysed the videos by first finding the key poses (extremes, breakdowns,
down and up) from the motion and then space them on 2's to see if the sequence
of poses works. I also took down notes in the analysis noting down the
position of the body parts in that pose and what can be changed according to
other references to fit my animation. I also referenced the run cycle keys
from The Animator's Survival Kit book to animate the run.
Running back angle
Fig 3.1 Person running filmed from the back reference
Fig 3.2 Analysis of Fig 3.1 video
Rough animation
Fig 4.1 Running and tripping rough animation
Fig 4.2 Chasing rough animation

|
| Fig 4.3 Chasing rough animation looped |
After analysing the motion from the video references, I applied the poses to my characters when creating the rough animations for the scenes. For scene 1, I used the tripping motion in Fig 2.1 video reference while trying to include the hand motion from Fig 2.3 video reference so that the action would be clearer. For scene 2, since it's a low angle, I tried to give it some perspective by making the hand that's closer to the camera, larger than the head, and also reverse the starting contact for the two characters so that the scene would look less mechanical. The rough animations are animated in a way that would allow for camera movement manipulation later on.
Tie down animation process

|
| Fig 4.4 Added "slide mid-stopping" motion |
I then imported the rough animation video into Adobe Animate to create the tie
down animation using pen and line tool. During the tie down process, I added
an extra motion in scene 1 where the character stops and slides a bit at the
start of the run and continues running to the part where she trips. This is
because I thought having her running only looks a bit anti-climatic so I
wanted to give a feeling that the character isn't just running peacefully by
adding that pose.
Fig 4.5 Squash and stretch used for inbetweens
I also added some inbetweens for certain key poses to connect them better.
For these inbetweens, I tried applying the squash and stretch technique to
give the animation a flexible feeling and also to save time in not needing
to draw too many frames, as well as making the anticipations more apparent.
The running part in this scene is animated on 3's, while the tripping and
falling parts are animated on 2's. The "slide mid-stopping" part are
animated on 1's to create an ease out motion, while the bumping part is also
animated on 1's to create that shaking collision effect by changing the
position of the same pose.

|
| Fig 4.6 Onion skin of chasing scene |
For the chasing scene, I animated the camera movement by following the
planning in the teaser animatic. I changed the character's size and position
to be slowly bigger and closer to each other to create the movement.
Fig 4.7 Compilation of rough and tie down (first attempt)
After finishing the tie-down animation, I compiled the rough animation and
tie-down animation in Adobe Premiere Pro for submission.
Further revising animation process

|
| Fig 5.1 Repositioning the characters to not overlap |
After receiving feedbacks from Mr. Kamal, I adjusted the position of the
characters in the chasing run cycle to not overlap when the camera moves in.
I also did a bit of adjustment on the animation for scene 1 where I made the
front hand move forward and the back leg moves to the side more in the
inbetween for the "slide mid-stopping" motion.

|
| Fig 5.3 Planning the camera tracking position |
I then plan out the camera motion for scene 1 in Adobe Animate as a guide to
animate the camera movement in After Effects. When animating in After
Effects, I found that the movement is too shaky if I followed the guide
exactly, so I made some adjustments on the positions and scaling later on.
After that, I compiled the revised tie down animations with the rough
animations in Premiere Pro for submission.
Final action animation
Fig 6.1 Final action animation compilation reel
Feedbacks
Week 10
Try and film another reference of tripping where the action starts closer to
the camera, so that you can see the motion properly. Plan the contact area
first and then add the breakdown.
Week 11
Bring to After Effects to animate the camera motion for scene 1, so the
motion can be read more clearer. Don't cover up the girl with he guy's
hand, keep the same idea but just move the girl towards the right more,
avoid overlapping the silhouette.
Week 13
In scene 1, the feet should be above ground when running. When the character
is sliding, the whole body should move forward. The back leg should maintain
the position where the heel was in the previous frame. Should have one more
inbetween drawing before the character stops n slides. Maybe try out adding
inbetween poses when the character starts running again after stopping.
Maintain the back leg and just bring the front leg to a different direction.
Probably need 3 inbetweens. Some hold when the character is sliding. Maybe
timing need to be longer, or simplify by reducing the step
Note: Correction for week 13 is done in
Project 3
Reflection
This project, although interesting and really is a good practice in learning
full body character animation, it is very time-consuming to
work on, especially when there's a lot of action happening in the scene.
Scene 2 was fairly straightforward as it's just a run cycle, but scene 1
took me a lot of time in going back and forth from analysis to my rough
animation planning, and figuring out how to make the poses sequence smoother
in the tie-down process in the most time efficient way as possible. There
are things in the animation that I wish I could've done better, especially
in scene 1 to make the the motion feel more "panicky" or make the starting
run longer by having the character run more. But with the time constraints,
I had to make the best with what I had, hopefully there's still time to
refine it for my final project.


Comments
Post a Comment