For this project, we are tasked to find reference images or blueprints of hard
surface objects to model. The object can be either a vehicle, a weapon, a
robot, or a machine. The final model should be applied the right material and
texture, and should be rendered with lighting using Eevee rendering
engine.
I chose to model a weapon and when looking through which kind of weapons I
want to model, I decided to model the Amban Sniper Rifle in the Star Wars show
"The Mandalorian" (a.k.a Mandalorian Rifle). I used the blueprint (Fig 1.1) as
my main reference when modelling, the additional image references in Fig 1.2
are used to supplement the lacking perspective information or unclear area in
the blueprint.
Modeling process
Fig 2.1 Modeling the base shapes
Fig 2.2 Modeling the details (rifle body emblem)
Fig 2.3 Modeling the details (rifle body tubes)
Fig 2.4 Modeling the details (creating gaps)
I started with modeling the big base shapes first where cubes and
cylinders are used. The rifle's body and the resonator (the tip of the rifle)
were modeled using cubes, and all the other parts including the stock were
modeled from cylinders. I mainly used loop rings and adjusting the vertices to
model the shapes. After that, I moved on to modeling the details of the rifle.
Gaps were made using the brush Boolean tool. All the mesh used to construct
the body of the rifle were applied the bevel modifier to round the edges and
give a bevel look.
Fig 2.5 Using cube to model the stock
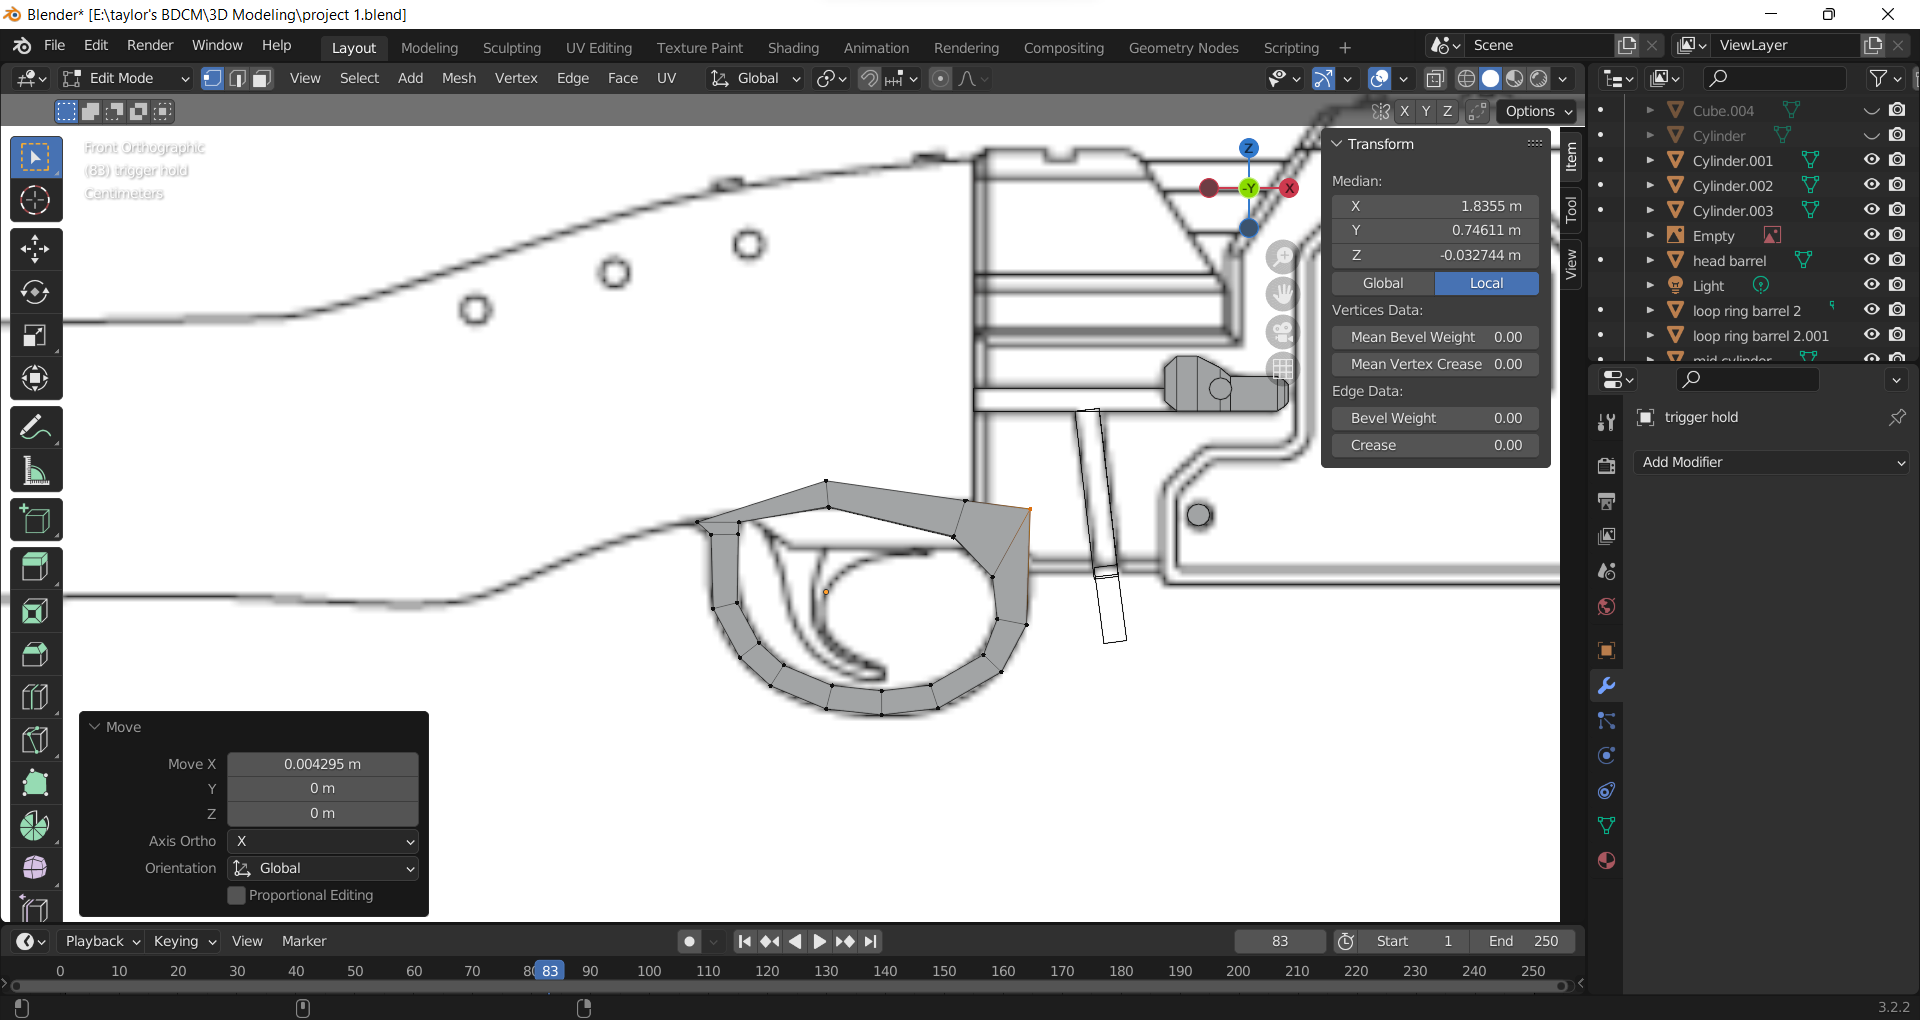
Fig 2.6 Modeling the trigger loop ring by insetting the face
Fig 2.7 Deleting the inset face
Fig 2.8 Modeling the trigger from a cylinder
I then found out the mesh of the stock wasn't well modeled as some wireframe
edges were covered in the mesh, so I changed to using a cube to model the
stock and it worked better and provided more control as well. For the trigger
and its loop, I modeled both using cylinders and I created the hole in the
loop by using inset.
Fig 2.9 Separating the scope attachment handle from the barrel ring
Fig 2.10 Adjusting the scope handle to fit the scope
Fig 2.11 Modeling the rifle's body attachment
Fig 2.12 Top orthographic view of rifle with details added
Fig 2.13 Bottom orthographic view of rifle with details added
Fig 2.14 Using flattened spheres for the scope lens
Fig 2.15 Applying stretch modifier to the knob on the rifle body
Fig 2.16 Applying solidify modifier to the trigger loop
For the scope attachment handle, I originally modeled it straight from the
loop attachment ring thing that's attached to the rifle barrel, but since I
found it hard to turn it around with the scope while still keeping both scope
handles in place, I separated the handle from the loop attachment ring and
adjusted the handle until it fits nicely to the scope. After that, I modeled
the details on the top and bottom part of the rifle by following the
blueprint. I then used two flattened spheres with a stretch modifier as the
scope lens and used the same modifier on the knob on the rifle body as well. I
also applied solidify modifier to the trigger loop to thicken it so it looks
more sturdy. For the rifle's attachment point at the top of its main body, I
used the brush Boolean tool to create the flat circle and plus sign
indent.
Assigning materials
Fig 3.1 Look of model with materials assigned
Fig 3.2 Separating the parts of the rifle body emblem to assign
different materials
Fig 3.3 Details of materials used
After finishing with the modeling, I then assign the materials following the
image references in Fig 1.2. For the emblem on the rifle body, since there's
two parts where each have different materials, I had to separate them from the
original single mesh to assign the correct materials to them. The parts where
Boolean brush were used were assigned a darker colour than the main material
as the shadow colour.
Further adjustment of model
Fig 3.4 Adjusting the detail on the top part of the rifle
Fig 3.5 Video showcasing the final model
When looking back at the reference images, I noticed one part on the top part
of the rifle should be inside the rifle body. So, I adjusted that part by
creating deep indents using brush Boolean and moved the row of rectangular
shapes lower into the rifle body. The row of rectangular shapes were also
applied the stretch and bend modifier to create than thin and bent slanted
look. All the meshes were shaded smooth with auto smooth enabled and
adjusted.
Scene composition
Fig 4.1 Viewport lighting and shadow settings
Fig 4.2 Setting gradient to the viewport background
Fig 4.3 Composing the model using golden ratio triangle guide
After that, I set the scene by adjusting the viewport lighting and shadow
settings and applying a gradient colour to the world background of the
viewport. I directly changed the viewport colour instead of using planes as I
didn't want any shadows casting behind the model. Then, I used the golden
ratio triangle guide to compose the shot by aligning the model to the
intersection points.
Fig 4.4 Viewport rendering outcome
Lighting and cycles rendering
Fig 5.1 Lighting and world colour setup
Fig 5.1 First Cycles attempt
After learning about Eevee and Cycles rendering in week 10, I updated the
viewport rendering outcome to render in Cycles. I used multiple point
lights of different power to light up the model.
Fig 5.2 Reworked lighting setup
After receiving feedbacks from Mr. Kamal, I changed the lighting setup
using the three point lighting technique through area lights and
spotlights. I added a little area light at a low power near the scope as I
wanted a light to reflect the lens of the scope.
Final hard surface modeling
Fig 6.1 Final Amban Sniper Rifle modeling outcome (updated)
Feedbacks
Week 11
Add one lighting from front to show the details, try using spotlights. The main key light should show the main highlight of the object. One key light at about 45 degree at the front, another at the side to soften the shadow, and another at the back for rim light. The detailing is good. Also change the camera position to have more of a perspective view from the back.
Reflection
This project was fun to do, partly because I really like the rifle and the show where it came from, which kind of kept me motivated even when the detailing of the body sometimes make me loose patience hah. But I learnt a lot on how to model hard surface and how to use the tools in Blender through this project, it definitely helped me in getting more and more familiar with the operation of the software. Anyway, even though some parts aren't as accurate as the real thing, I'm really glad that I was able to model the rifle out and it mostly resembles the actual one. Also, a big thank you to Kamui Cosplay for creating the blueprint for the rifle and making it free to download!


Comments
Post a Comment