I did a few tries when completing each stage, and I found that pen tool
is not that easy to master, especially when it comes to tracing curve
angles. Sometimes I wish I'm allowed to use more nodes but I guess when
there's a large number of unnecessary nodes, it'll make the tracing to
look more angular than smooth. But all in all, this game was a great
practice in using the pen tool.
Design work #2
Firstly, I really like the composition in this digital collage.
How the planets on the table are arranged in a way to purposely
show that the astronaut will miss the shot, the strong leading
line from the astronaut’s arm to the corner of the table, and the
light shining on the astronaut and the signboard at the back while
having dark shadows to create a suspenseful mood.
Secondly, I like how everything is edited to look very realistic,
it’s like the artwork is not edited at all. And the red light
shining on the sign board at the back brings focus to it which
tells the narrative of the artwork (astronaut is giving a warning
shot). Unlike design work #1, every element in here are isolated
perfectly with no extra edges to be seen, which adds to the
realism the artwork is going for, making something surreal to be
real.
Design work #3
A combination of illustrations and real life photos, which is what I
find interesting about this artwork. The real life and illustrated
elements in this piece are arranged and edited in a way to seamlessly
integrate with each other so all of them will look like a unified
object to the viewers, in other words, they all look like they belong
in a world rather than two different worlds. The bright and
contrasting colour choice as well as the pattern on the mountain
shapes definitely creates the surrealism of the artwork, which also
gives an expressive feeling to it.
Week 4 (13/9/2021)
Adjustment layers and filters
For our practical class activity this week, we are tasked to choose
the best composition out of the 3 compositions we did for our digital
collage and edit it using adjustment layers and filter in Photoshop.

|
|
Fig 1.1 Adjustment layers and filters outcome
|

|
Fig 1.2 Adjustment layers used
Noise filter is also added
to the gradient fill layer to create a grainy texture
|
When doing this activity, I had a dark to light concept in mind. I
made the bottom part of the composition black and white, which
contrast with the orange part of the background and made it look
ominous. I then used the brush and masking tool to create a smooth
gradient change from black and white to the vivid colour upper part of
the composition. I also used it to create a vignette effect on the
colour portion so the centre area of focus would be brighter and has a
more dramatic look to it.
Week 5 (20/9/2021)
Digital imaging: Shazam in Hearst Mansion
In this week's tutorial and practical activity, we are shown the
method on how to digitally insert a subject from a picture to another
picture and make the inserted subject believable with the background.
We are given two photos, the first one is a poster of Shazam and the
other one is a photo of the interior of Hearst Mansion.

|
|
Fig 2.1 Poster of Shazam
|

|
|
Fig 2.2 Photo of Hearst Mansion
|

|
|
Fig 2.3 Isolated Shazam
|
I first used quick selection tool to select shazam and mask the
selection to remove the background. Later on I used the brush tool to
do some clean up and restoration.

|
|
Fig 2.4 Shazam inserted in Hearst Mansion
|
After that, Shazam is dragged and dropped to the Hearst Mansion photo
and is resized and positioned to create a realistic sense of scale.

|
|
Fig 2.5 Match colour and shadow
|
Match colour function is used to match Shazam's colour with the
background. Brightness and contrast is also adjusted to match the
lighting and a shadow is created using brush tool in black colour,
gaussian blur and lowered opacity.

|
|
Fig 2.6 Final edited picture of Shazam in Hearst Mansion
|
Reflection is added by duplicating Shazam, rotating and positioning
him right below the original picture. Brightness is lowered and
contrast is increased, hue is adjusted to be bluer and saturation
lower. Gaussian blur and ripple effect is used to create a more
realistic effect of a reflection. further adjustment on the on the
original Shazam is also done to match the lighting of the background
more.
Week 6 (27/9/2021)
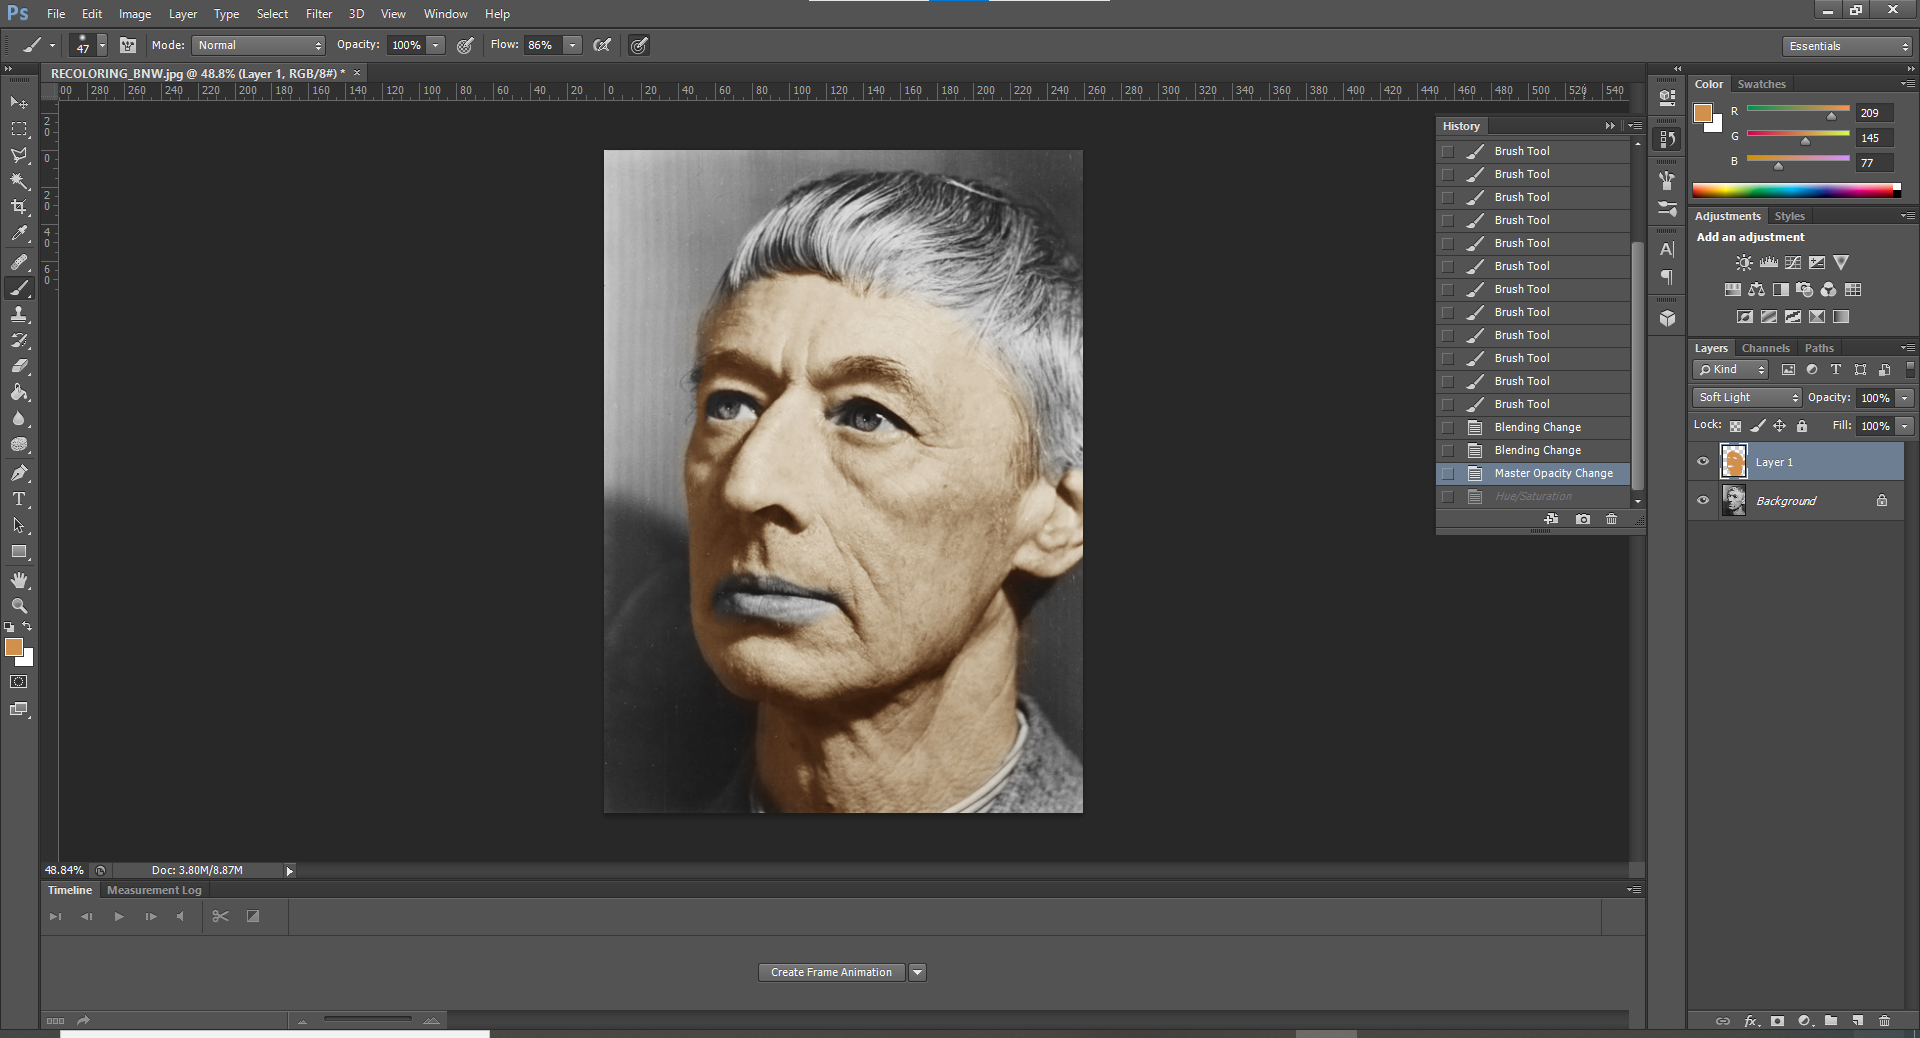
Recoloring black and white: Part 1
In this week's practical activity, we are given a video demonstration
of how to recolor a black and white image in Photoshop. We are given a
black and white image of a woman to recolor.

|
|
Fig 3.1 Given black and white photo
|

|
|
Fig 3.2 Colouring the skin using brush tool
|

|
|
Fig 3.3 Change the skin colour layer blending mode to soft light
and adjust hue/saturation
|
The first step is to pick a colour and use brush tool to place the
colour over the whole skin. Then we can either use overlay or soft
light blending mode for the colour layer. I choose soft light as the
result of overlay is too harsh. Then, the hue/saturation of the color
layer is edited to adjust the skin colour to a more fitting tone. The
same steps are repeated in colouring the lip, hair, eyes and
coat.

|
|
Fig 3.4 Filling in the background colour using edit>fill
|

|
|
Fig 3.5 Selecting the woman
|

|
|
Fig 3.6 Set layer mode to soft light and adjust hue/saturation
|
After that, a new layer is created with the colour for the background
filled in. A selection is made from all the other colour layers and
lasso tool is used to select any parts that are left off. The
selection is then made to a mask in the background colour layer and
the layer blending mode is changed to soft light. Hue/saturation of
the layer is edited to adjust the colour.

|
Fig 3.7 Final recolored picture
|
|
Some refinements are made using the eraser tool and hue/saturation of
the hair, skin, eyes and lips are also further adjusted to make them
more fitting. Opacity of the eye and lips colour layers are decreased
too to make the colour match and a little less harsh.
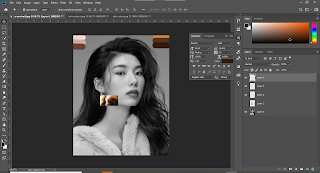
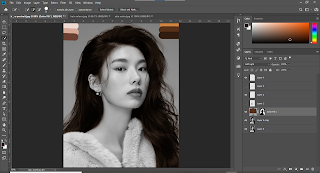
Week 7 (4/10/2021)
Recoloring black and white: Part 2
For this week's practical activity, it's also a recolouring task but
using a different technique. We are given a video demonstration of the
task and is then asked to recolouring a given black and white
picture.

|
|
Fig 4.1 Given black and white picture
|


Comments
Post a Comment